How to Prepare Your Soil Before Tilling (Tools & Accessories Guide)
Before you start tilling your land, the most important step is proper soil preparation. Whether you are using a power tiller, mini tiller, or hand tools, preparing the soil ensures better aeration, smooth tilling, and higher crop yield.
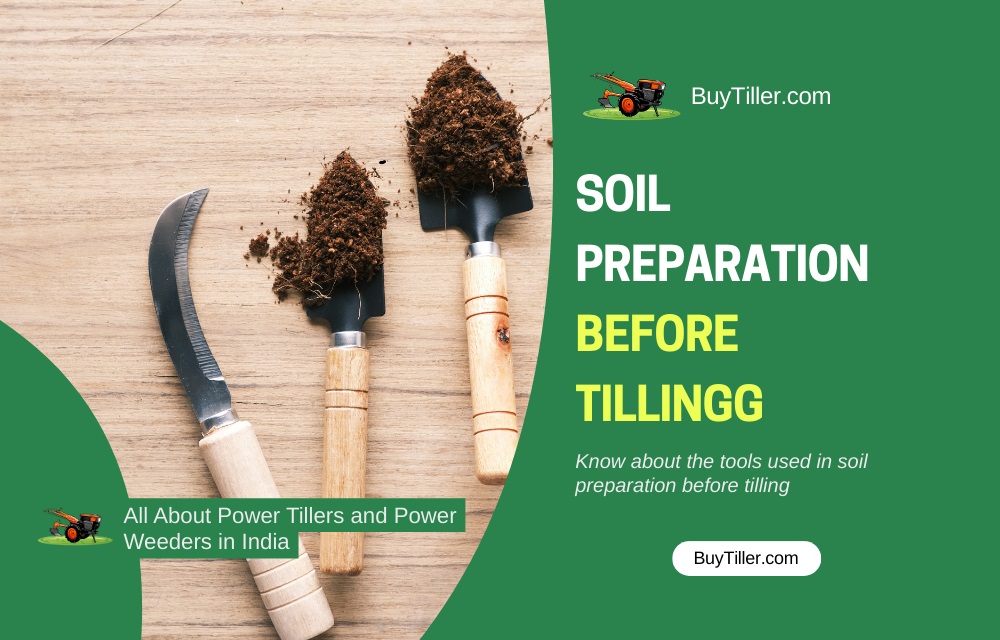
In this guide, we explain the exact steps to prepare soil before tilling, along with the recommended tools and accessories like spades, rakes, and sprayers.
Why Soil Preparation Is Important
Good soil preparation helps in:
- Breaking hard clods for smoother tilling
- Improving soil structure
- Removing weeds and stones
- Better penetration of roots
- Increasing water-holding capacity
Step 1: Clean the Field
Before tilling, remove stones, roots, and crop residues from the field. This prevents damage to tiller blades and ensures even tilling.
Recommended Tools
- Spade/Shovel – For removing tough roots and debris.
👉 Best Spades on Amazon - Garden Rake – For leveling and collecting dry leaves.
👉 Best Garden Rakes
Step 2: Loosen Topsoil Using Manual Tools
If the soil is very hard or compacted, loosen the top 2–3 inches using hand tools before using a tiller. This makes the tiller work faster and reduces engine load.
Tools to Use
- Pickaxe or Hoe (Kudal) – Helps break dry, hard soil. Check on Amazon.
- Hand Cultivator – Useful for kitchen gardens and small fields.
Step 3: Moist the Soil Slightly (Very Important)
The best time to till is when your soil is slightly moist – not dry, not too wet.
If the soil is too dry, sprinkle water 1 day before tilling. This softens the soil and allows blades to dig deeper.
Recommended Tools
- Garden Sprayer / Battery Sprayer – For light irrigation before tilling.
👉 Best Battery Sprayers
Step 4: Apply Organic Matter or Fertilizer
Before tilling, spread compost, cow dung, or vermicompost over the field. When you till afterward, this organic matter mixes evenly with the soil.
This improves soil fertility and moisture retention.
Tools Needed
- Hand Spreader – For spreading compost or organic fertilizer.
- Shovel – To distribute soil amendments evenly.
Step 5: Level the Field Before Tilling
Uneven field surfaces can cause the tiller to bounce or work unevenly. Levelling helps the tiller blades cut uniformly.
Tools for Leveling
-
- Garden Rake – Essential for final soil leveling
- Wooden or Metal Leveller – For larger fields.
Step 6: Mark the Tilling Area
Plan your tilling direction – either horizontal or vertical strips. This ensures complete coverage and avoids over-tilling or missing spots.
- Mark the corners with sticks
- Draw tilling lines using a rope
Step 7: Check Your Tools Before Tilling
Before starting the tiller:
- Check engine oil
- Check belt tightness
- Ensure blades are sharp
- Adjust handle height
For mini tillers, inspect the blades for any bending or rust formation.
Related Articles
Final Words
Soil preparation plays a major role in how well your tiller performs. With the right tools, correct moisture level, and proper planning, you can get smooth soil, deeper tilling, and much better crop results.
Keep the essential tools like spades, rakes, and battery sprayers handy for your next tilling session.